
I love repurposing and using stuff that otherwise could end up in a landfill. Below is one such project. It is fun, quick and easy to make your feline buddy a toy that will bring hours of enjoyment and use up some scraps from your latest project.
This is a very basic project that requires beginner hand or machine sewing skills. I kept it very simple so anyone can do it!
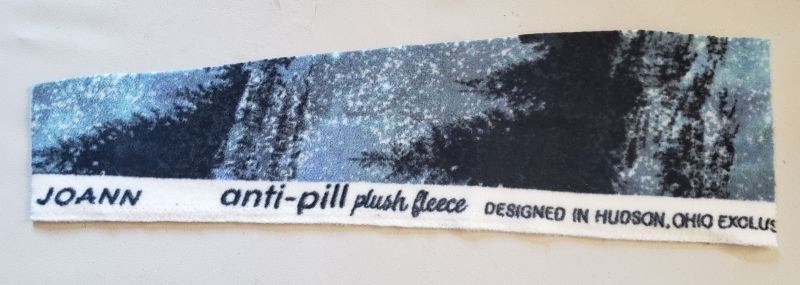
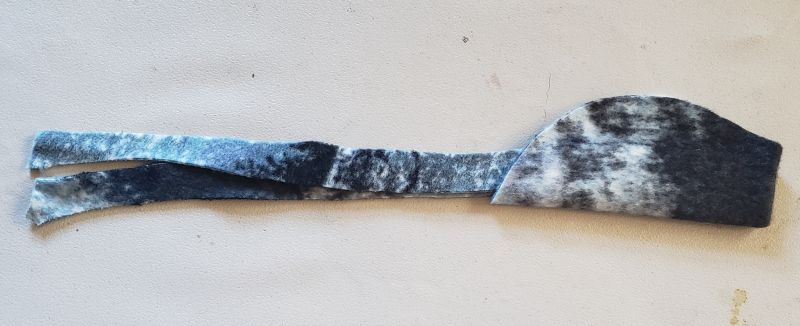
Step One: Select a nice LONG strip of fabric. Almost any kind of fabric will do, though I would steer clear of silks, satins and other delicate fabrics since kitty claws are pretty intense and delicate fabric will not last long. For my project, I used some leftover fleece.
The strip doesn’t have to be even and using the selvage is fine. It is just a cat toy after all!
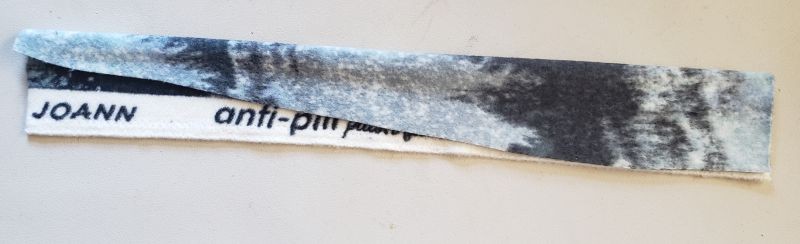
Step Two: Fold the piece it in half, making sure the “body” part is even.
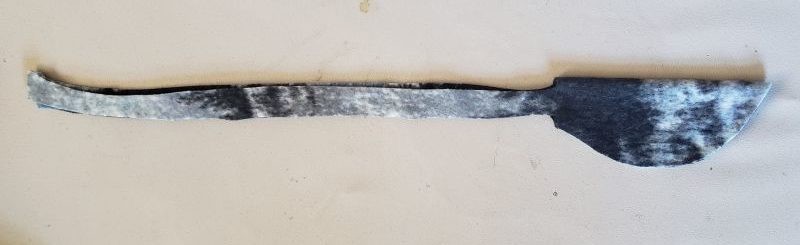
Step Three: Freehand cut a basic “mouse” shape. It is basically half an oval. NOTE: I should have rounded the corners near the tail instead of making them boxy… oh well.
Step Four: Open the shape. It kind of looks like a jellyfish (forgot to get a pic of that). Then fold the “tail” in over the body.
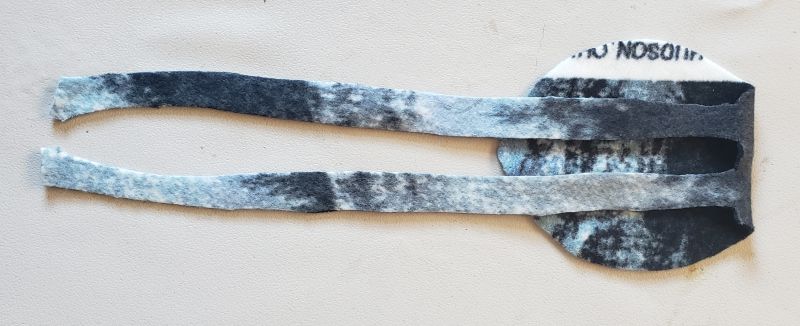
Step Five: RE-fold the mouse, keeping those tails on the inside. The tails then stick out of the “nose” of the mouse.
Step Six: Pin!
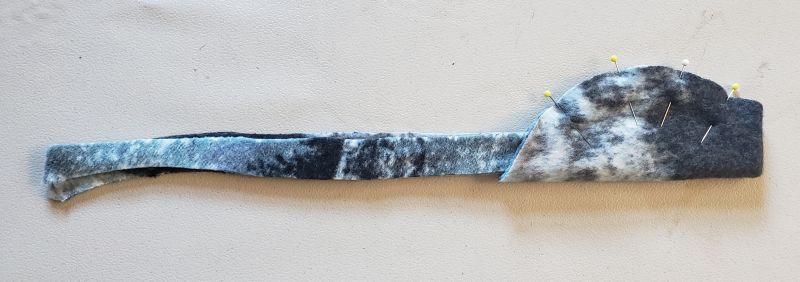
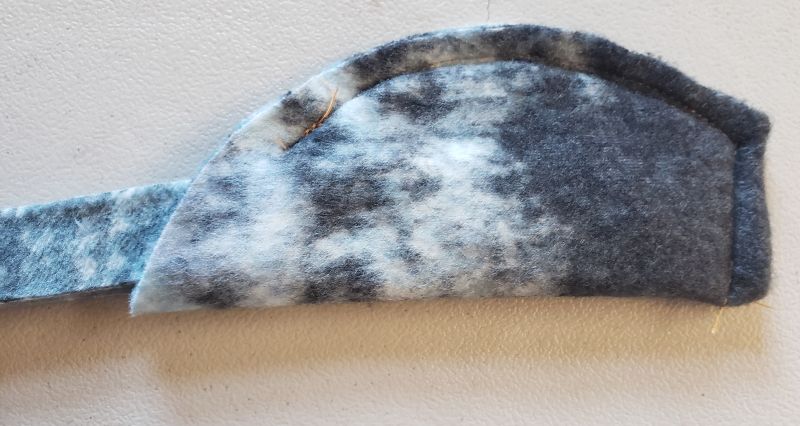
Step Seven: Sew! Note where I sewed at. The nose and tails are NOT sewn.
I sewed over the “back” of the mouse and over the tushie. This is what secures those tails in.
Step Eight: Turn the critter. You can pull on the tails gently and ease it to get it right side out. Again I wish I hadn’t made it so square (grrr).

Step Nine: Stuff it! I added my home-grown catmint to the toy and cut up more of the scraps to use as filling. You can stuff it with polyfill if you want, but why? The toy is small enough that more scraps won’t make it overly heavy and it is less waste this way!

Final Step: I didn’t get a photo of it, but I basically just handstitched the opening closed.
I then cut the tail into thinner strips for more movementt when I play with my kitty with it.
OPTIONAL: You could sew on eyes and ears, maybe add a bell or feathers if that is something your kitty would like, but I am always so scared my cat will rip that stuff off and ingest it. I would have considered embroidering on eyes if the material wasn’t already so busy.

And that’s it! Easy toy made from what would have otherwise been chucked. Totally worth the little bit of trouble to whip it up.
Recent Comments